
How to start a TypeScript project with Node.js and Express
by Hector Martin Dama · 31/5/2024
Express is one of the most famous frameworks for backend development with Node.js, and in this article I am going to teach you how to start a project with this technology.
1. We create the initial folder and the package.json.
We create the folder where the project will be and initialize the project.
mkdir auth-middleware # create the folder
cd auth-middleware # go in to the folder
npm init -y o pnpm init # initialize the project
If when initializing the project we get the error “command not found”, to solve it we must install Node.js and npm or pnpm.
After running these commands, you should have a package.json file in the folder with the following content.
{
  "name": "your file name",
  "version": "1.0.0",
  "description": "",
  "main": "index.js", // The entry point of our app must be changed to .ts
  "scripts": {
    "test": "echo \"Error: no test specified\" && exit 1"
  },
  "keywords": [],
  "author": "",
  "license": "ISC"
}
2. Install Typescript and other dependencies
In this project we are going to use the following dependencies:
- express: Web Server
- cors: Allows Cross-Origin Resource Sharing
- dotenv: Environment variable manager
- nodemon: Allows you to update the server automatically when a change is applied to the code.
npm install express cors dotenv nodemon
Since we are going to use TypeScript, we must install the corresponding data types.
npm install -D typescript ts-node-dev @types/express @types/cors
3. Generate tsconfig.json
npx tsc --init
Once this command is executed, we must open the tsconfig.json file and modify the outDir option to specify the directory where the compilation of our application will take place.
{
  "compilerOptions": {
    "outDir": "./dist"
  }
}
4. Create a server in Express
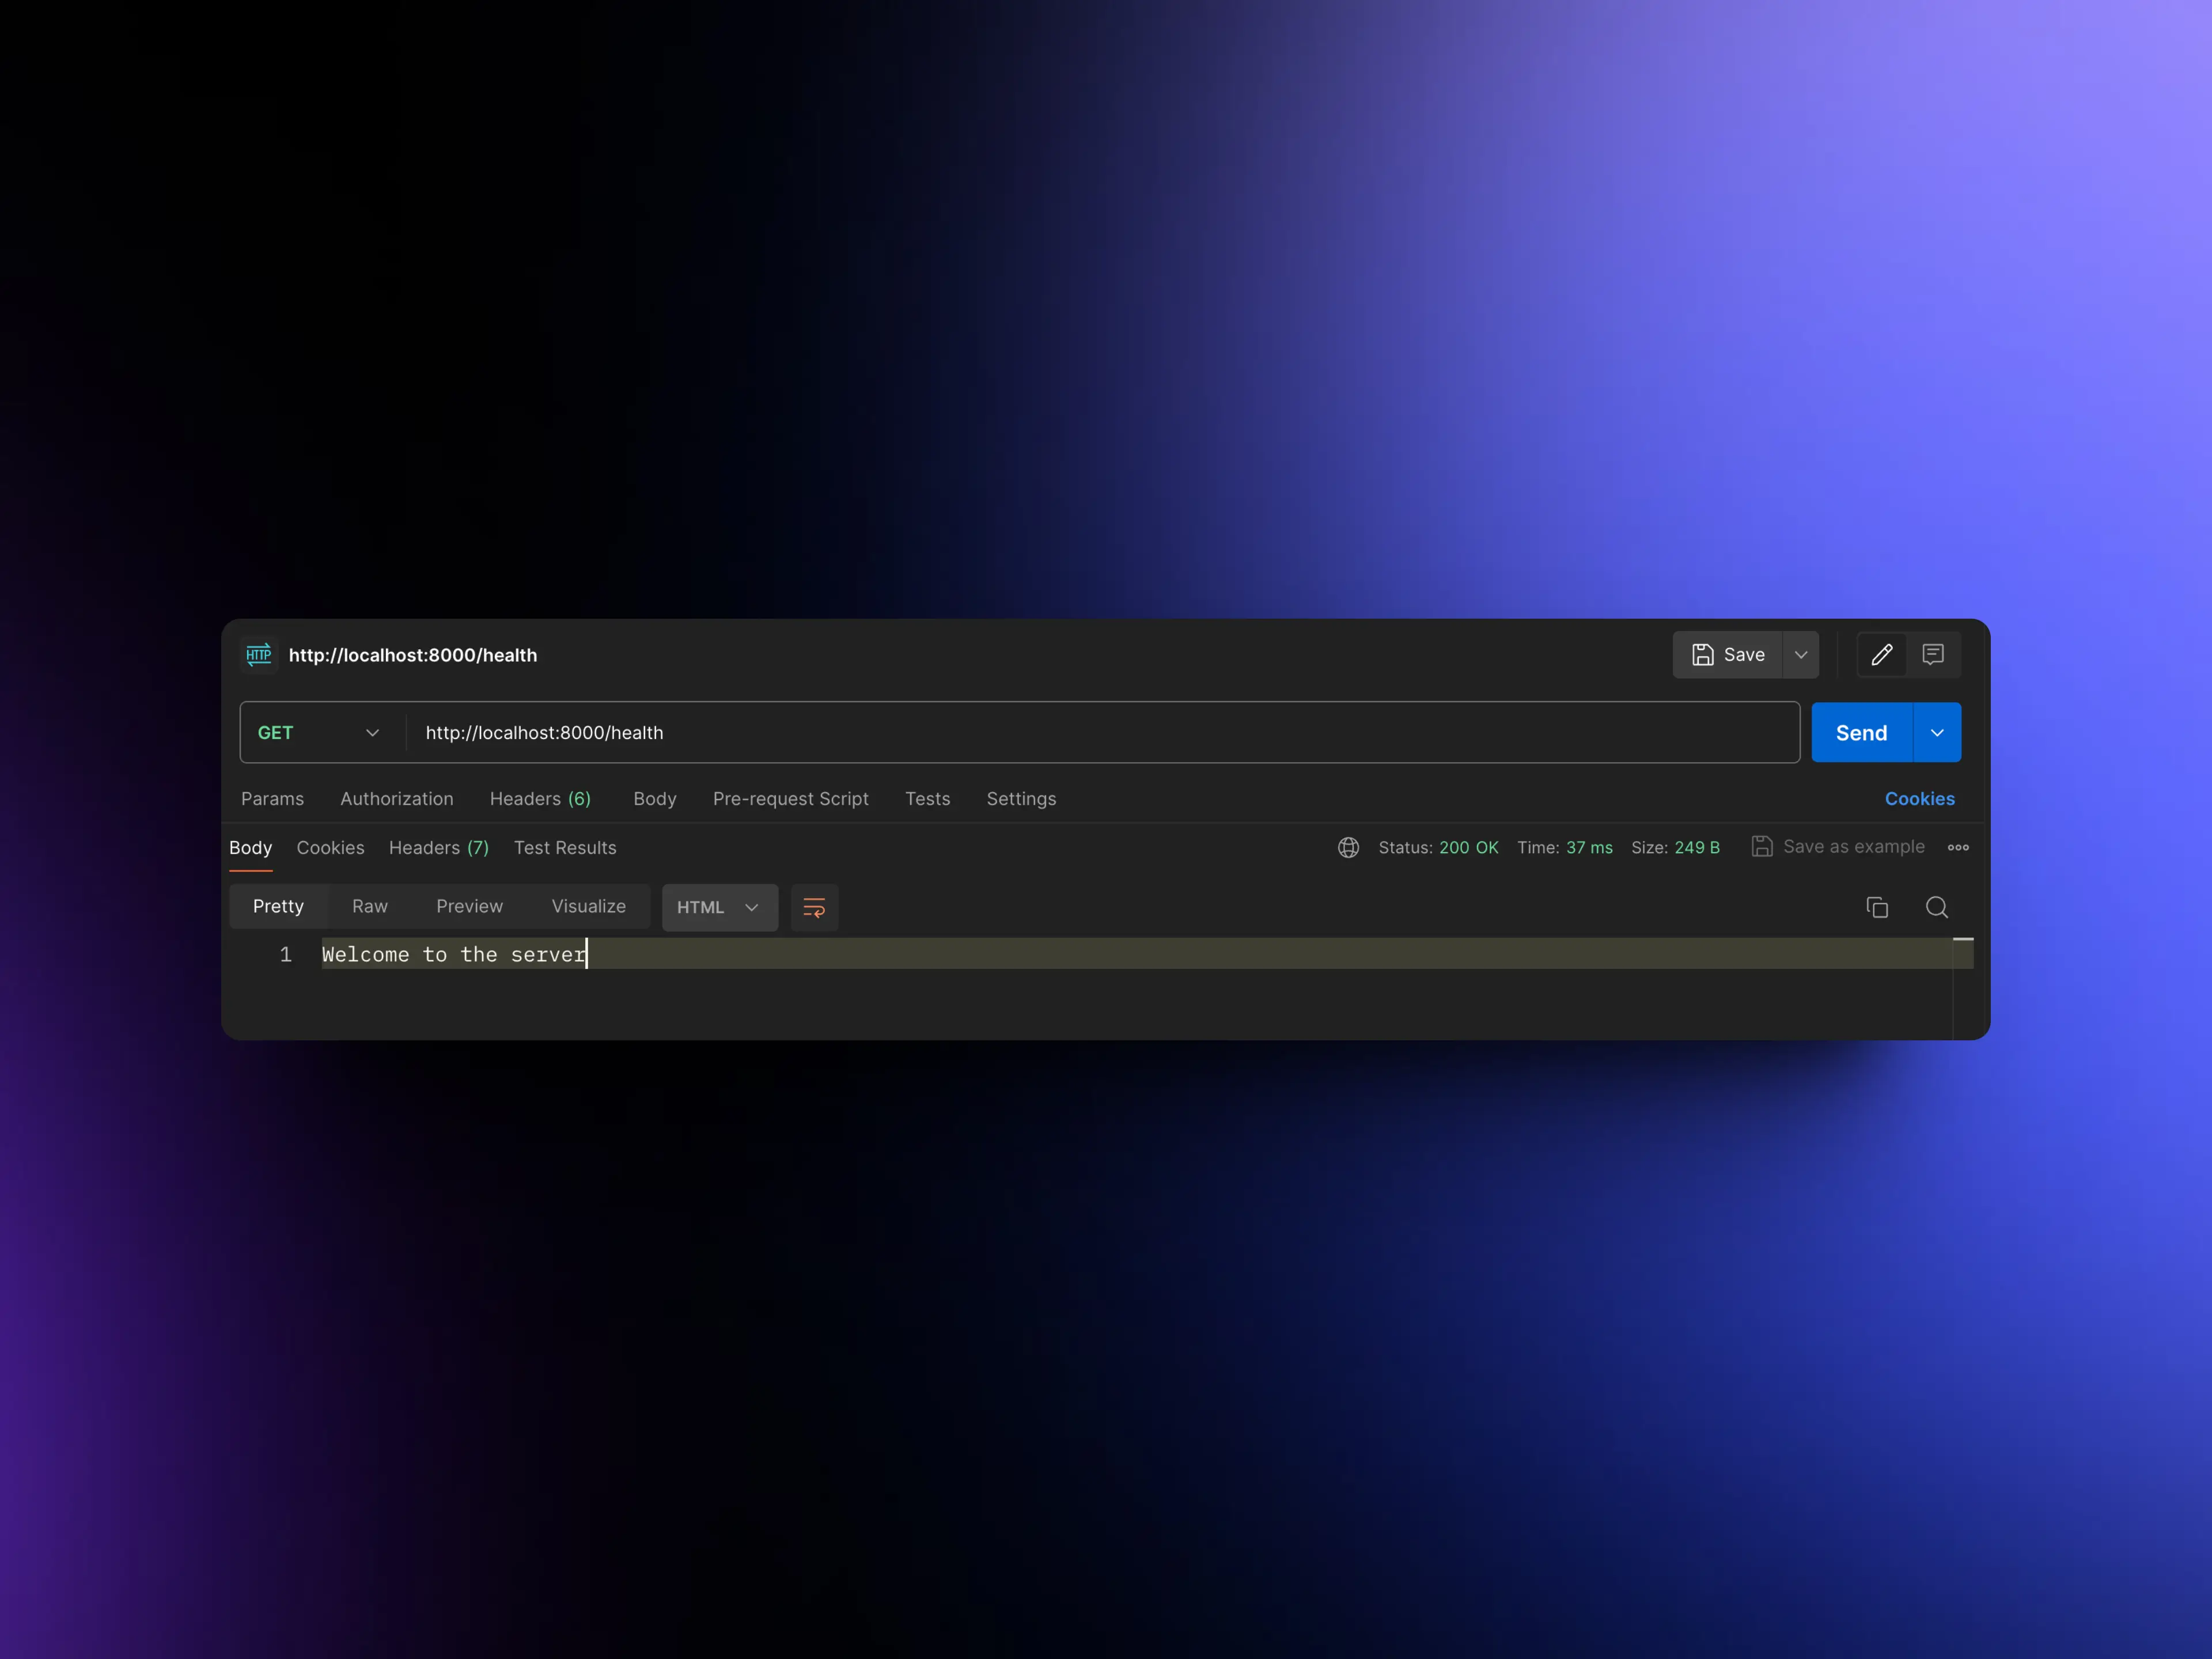
Create a file with the name index.ts and open it. This will be the starting point of our application. In this file, we will create an endpoint called /health. This endpoint is used to verify that the server is working correctly. That is, if the server response is 200, it means that the server is working.
import express, { Request, Response, Application } from "express";
import dotenv from "dotenv";

dotenv.config(); // dotenv

const app: Application = express();
const PORT = process.env.port || 8000;

app.get("/health", (req: Request, res: Response) => {
  res.send("Welcome to the server").status(200);
});

app.listen(PORT, () => {
  console.log(`this server is running at http://localhost:${PORT}`);
});

export default app;
5. Add the scripts in the package.json
Add the commands to be able to start the project and carry out the build. In this case, we will use the dev command, which will use the nodemon library to automatically update the server every time we save a change, and build to compile our application later.
{
  "scripts": {
    "build": "npx tsc",
    "start": "node dist/index.js",
    "dev": "nodemon index.ts" // actualiza el servidor cuando hay cambios
  }
}
6. Run the code
npm run dev
7. Check the server response
To check that the server responds, we can do it in two ways:
- From the browser, entering http://localhost:8000/health.

- Making a GET request in Postman.
8. Endpoint testing with Vitest and SuperTest
The use of tests is increasingly important, as they ensure that the API works as expected, even after changes or updates are made.
Install Vitest and Supertest
These two libraries will help us test the endpoints of our API.
npm install -D vitest supertest @types/supertest
Configure script that executes the tests
To do this, we must go to the package.json file and change the value of test.
"scripts": {
    "test": "vitest",
  }
Configure Vitest for Node.js
In the root folder, we need to create a file called vite.config.ts with this content.
import { defineConfig } from "vitest/config";

export default defineConfig({
  test: {
    globals: true,
    environment: "node", // Usar 'node' para pruebas de servidor
  },
});
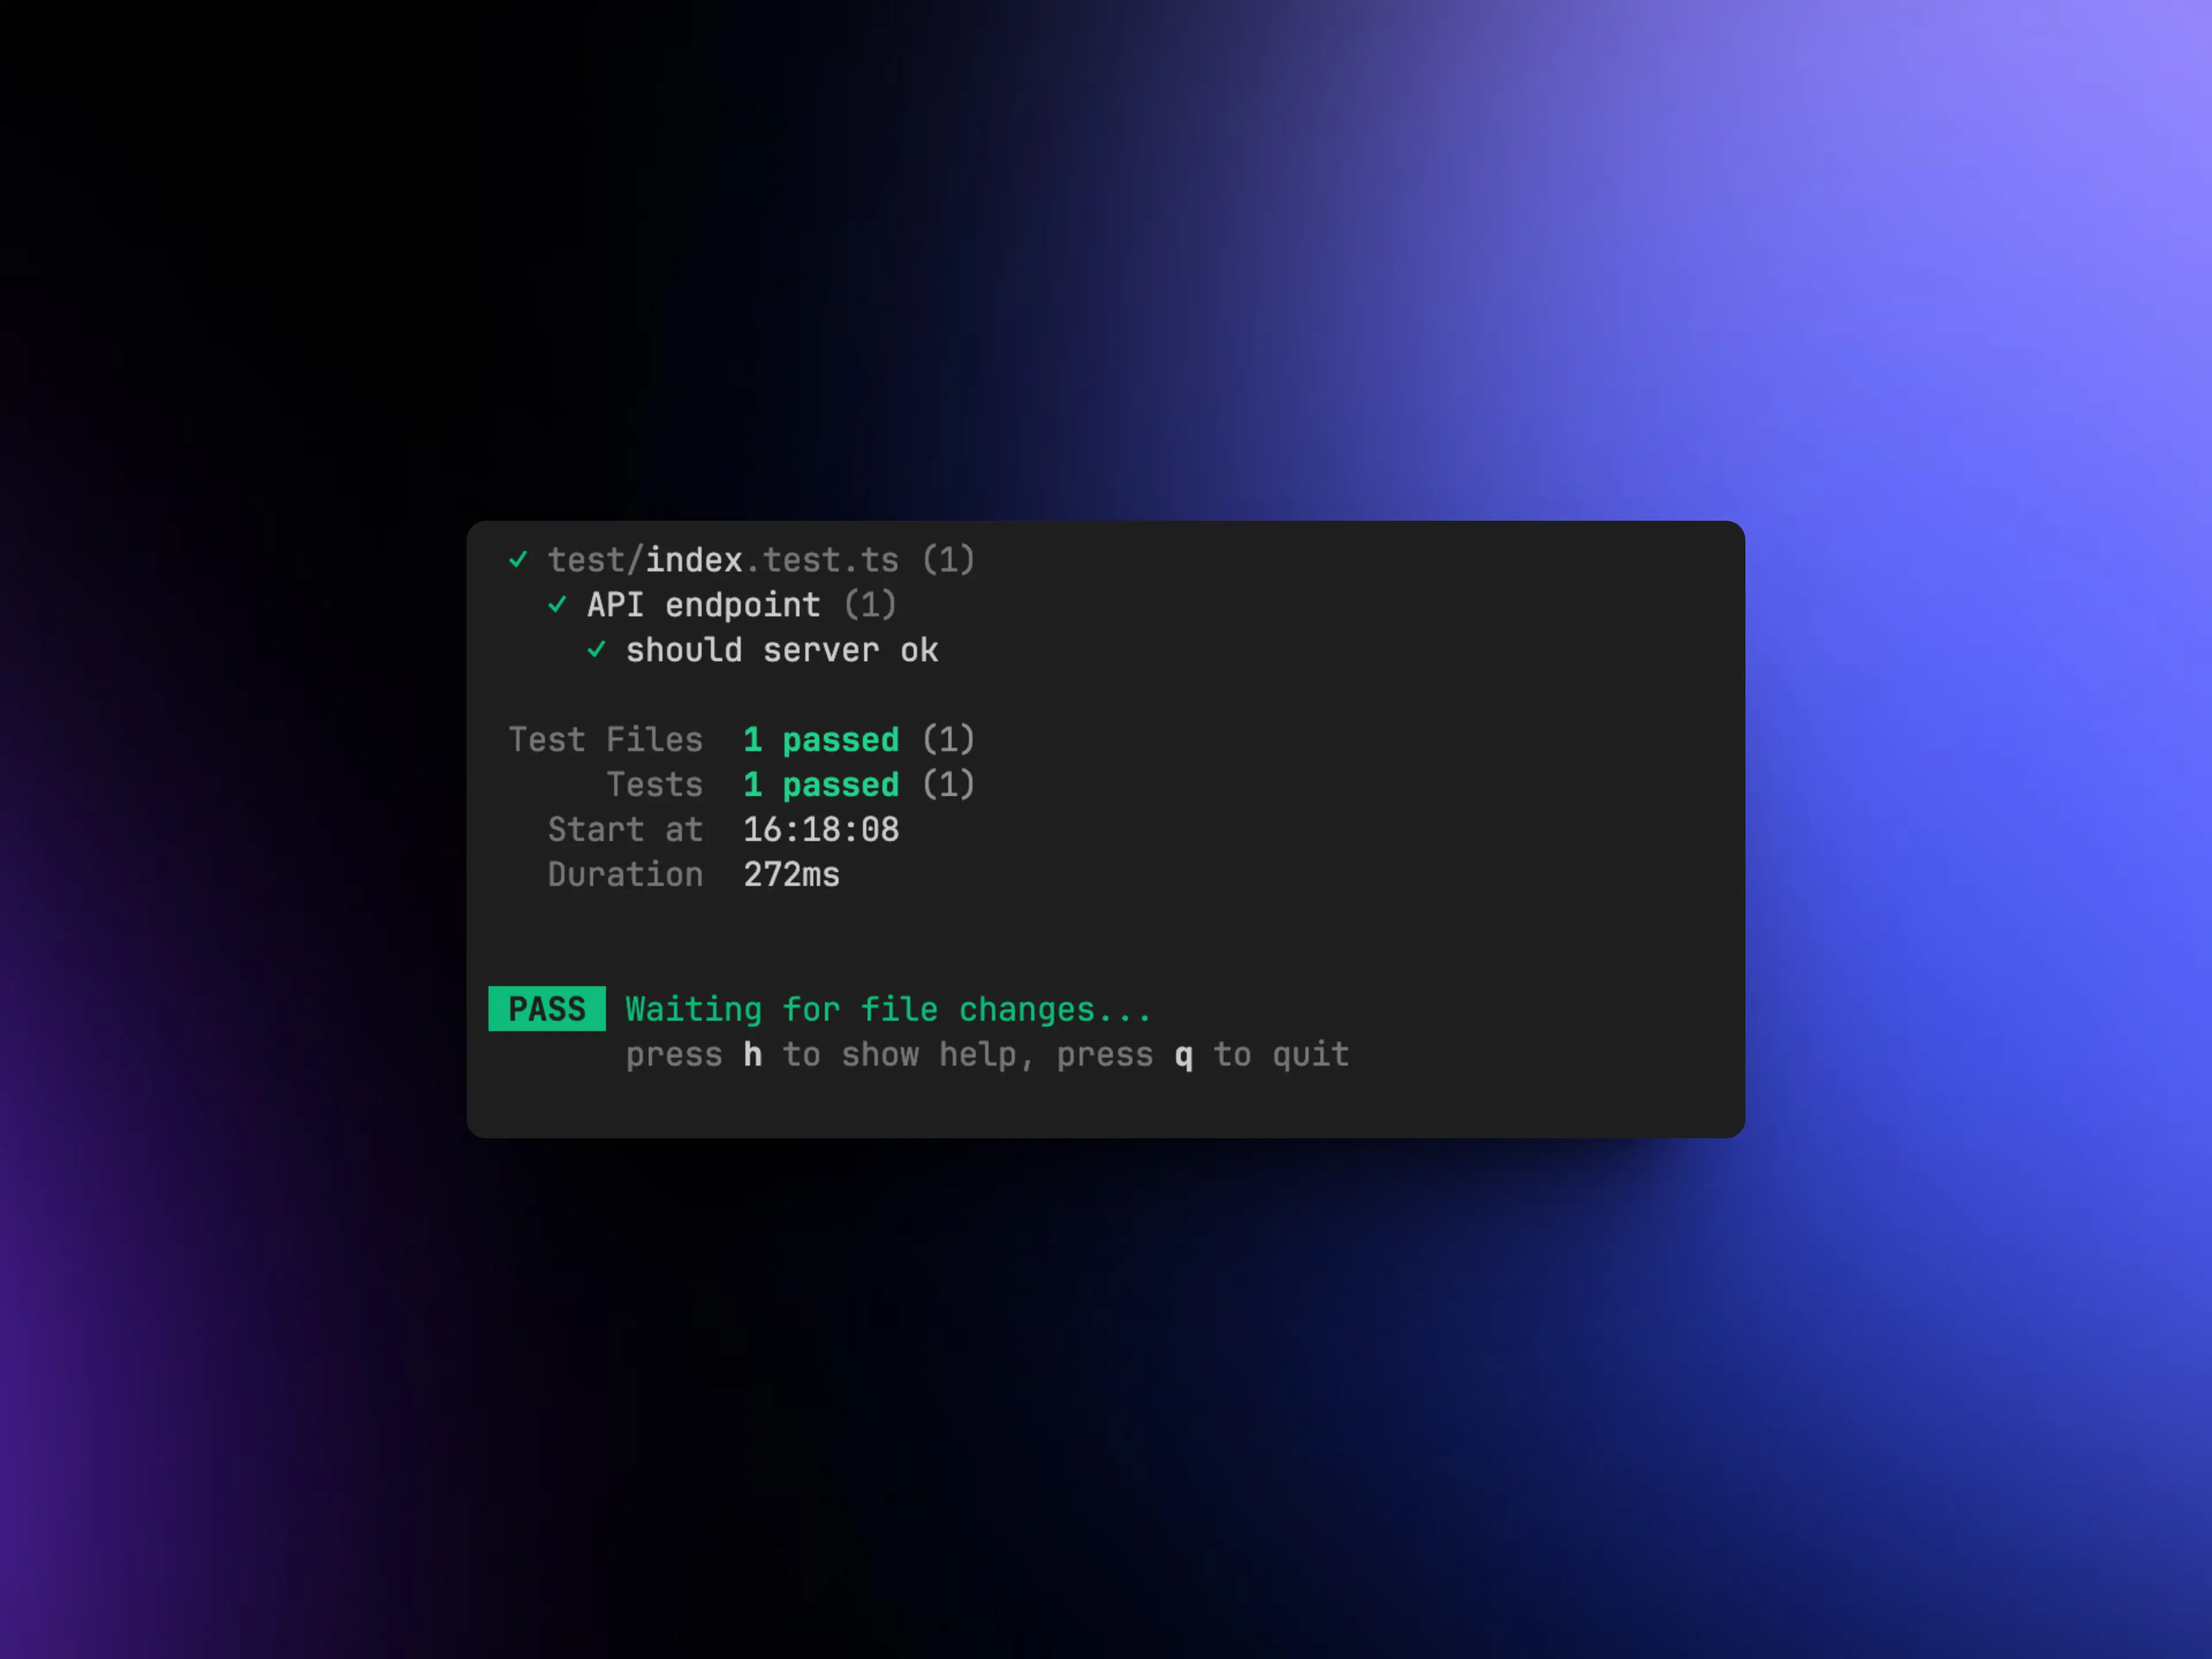
Creating our first test
We will create a folder called tests and inside it we will create a file called index.test.ts. In this file, we will write a test that verifies that the response from the /health endpoint is 200.
import { describe, it, expect } from "vitest";
import request from "supertest";
import app from "../index";

describe("API endpoint", () => {
  it("should server ok", async () => {
    const response = await request(app).get("/health");
    expect(response.status).toBe(200);
  });
});
Run the test
npm run test
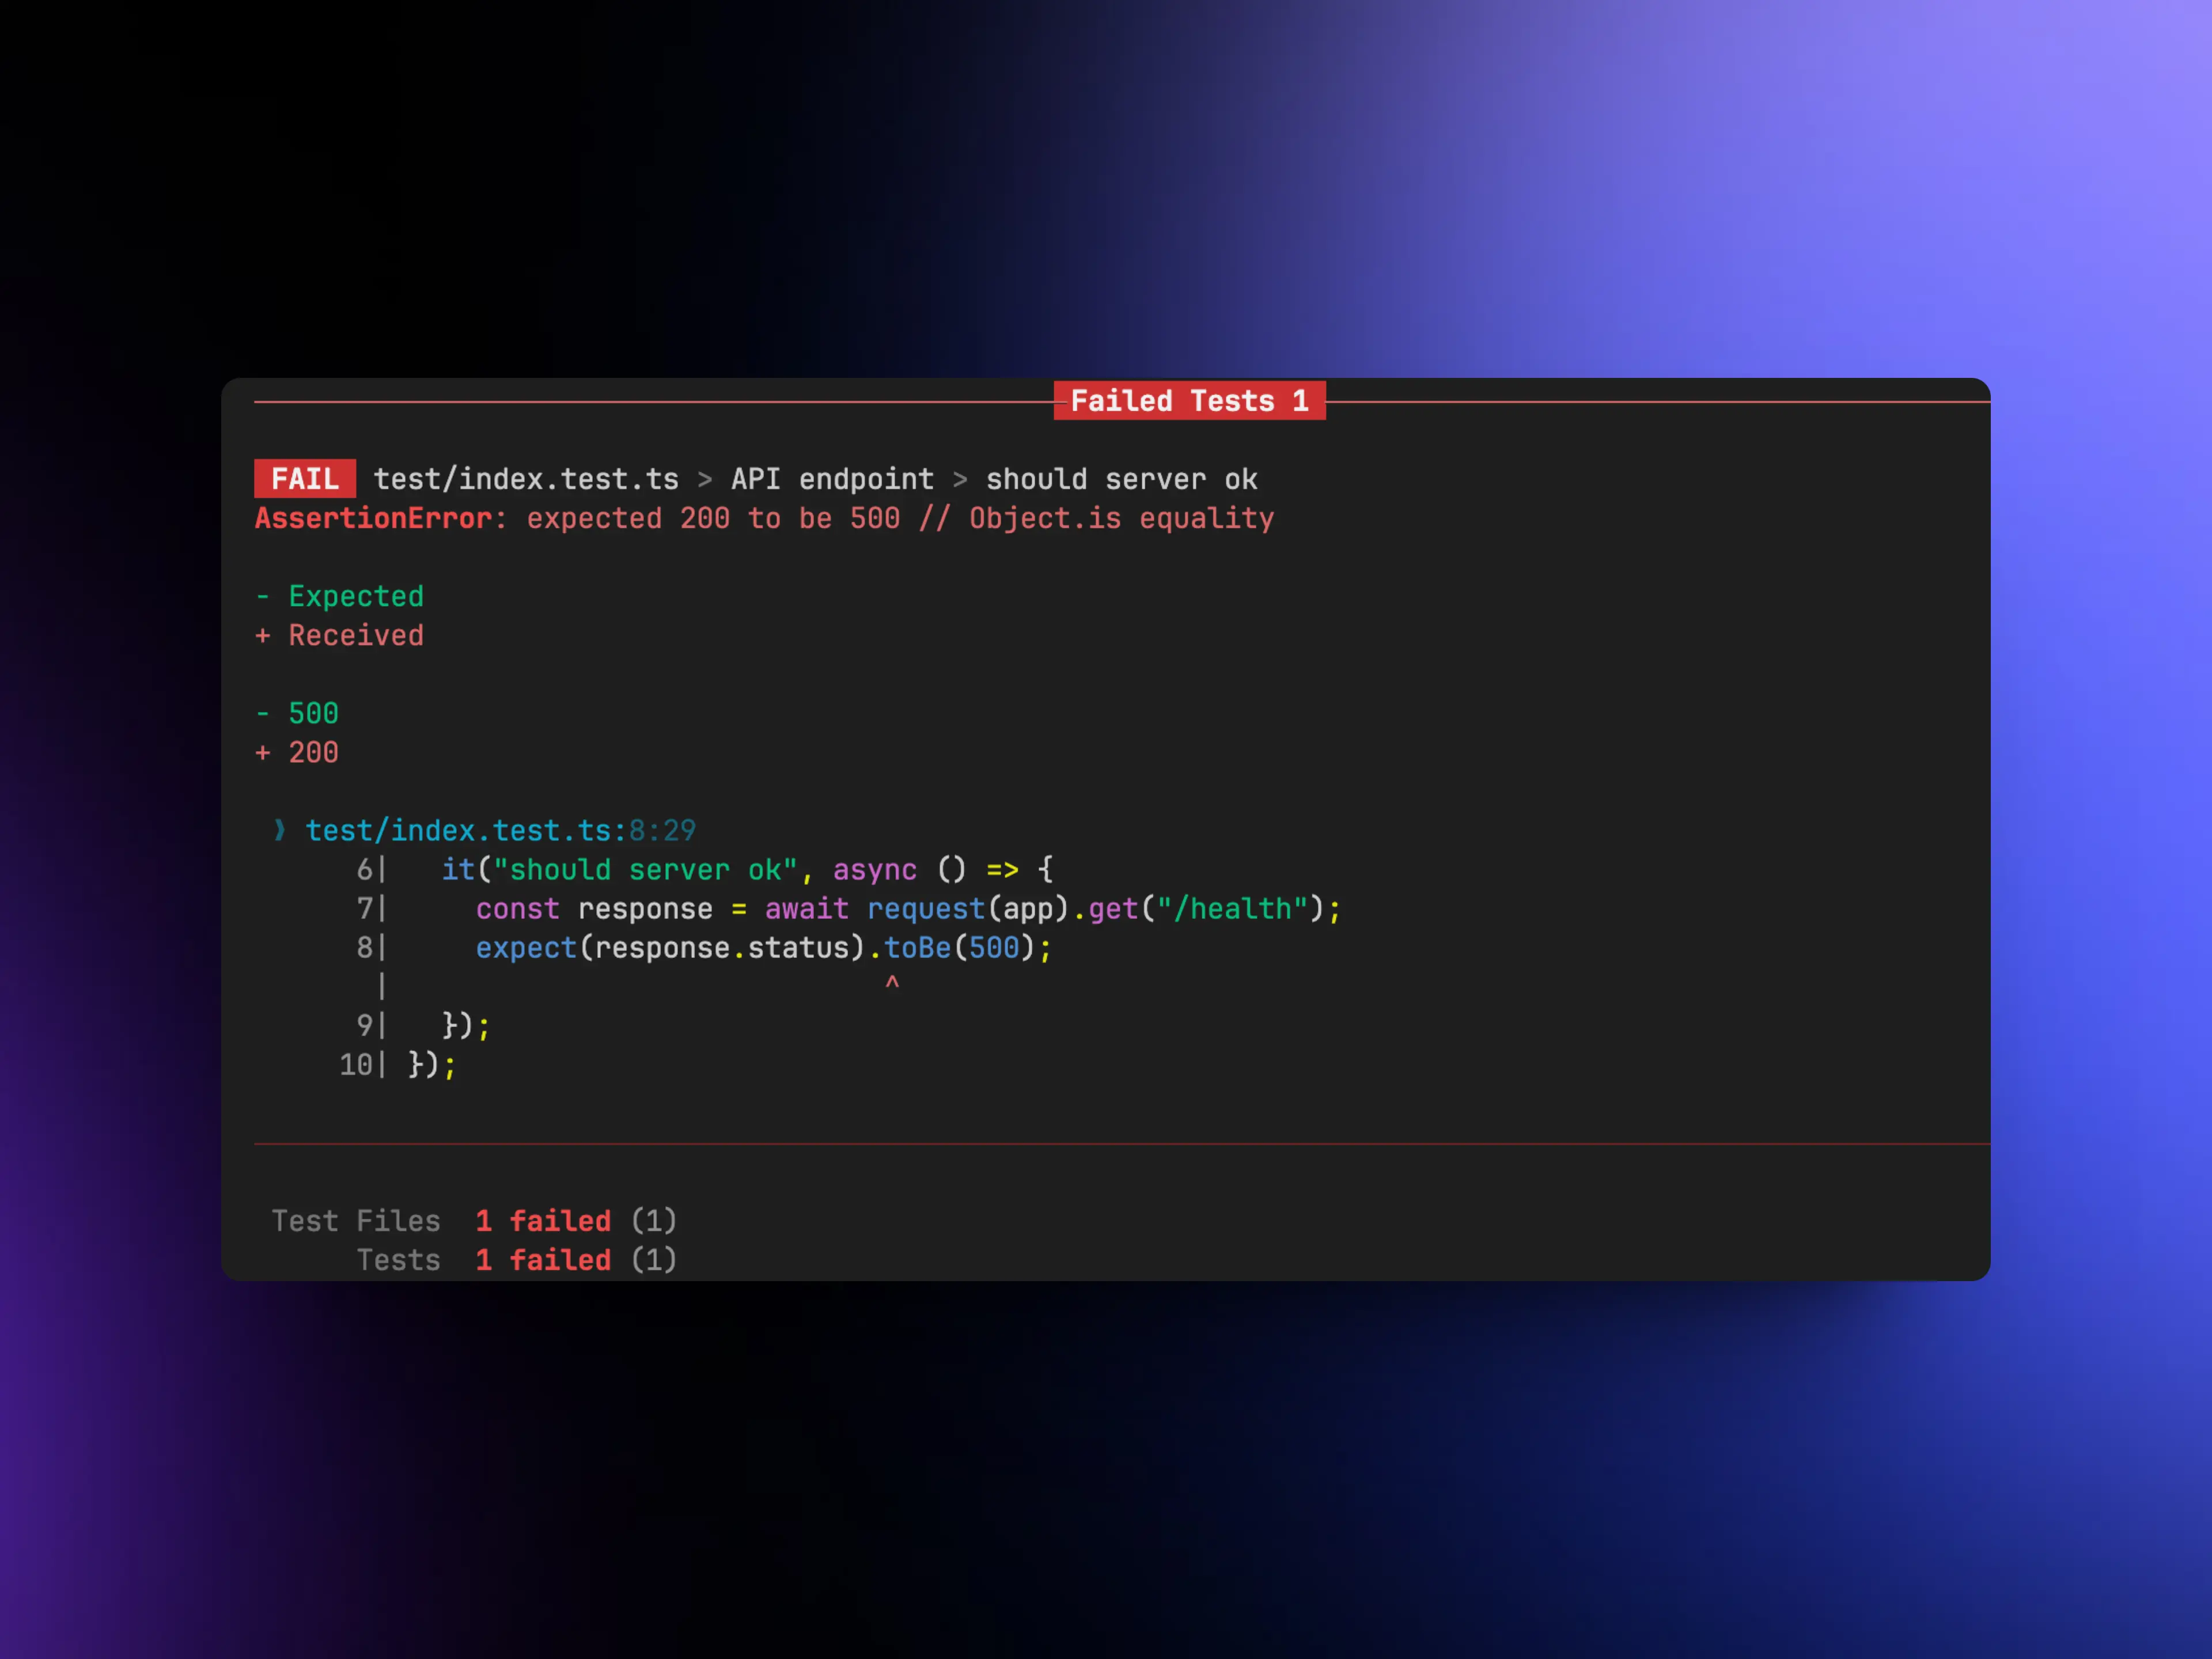
To verify the reliability of the test, we must make it fail to avoid false positives. To achieve this, we can change the status code in the index.test.ts file from 200 to another value, for example, 500.
describe("API endpoint", () => {
  it("should server ok", async () => {
    const response = await request(app).get("/health");
    expect(response.status).toBe(500);
  });
});
Run the test again and confirm that the test does indeed fail. It tells us that a status code of 500 was expected but it received a 200. Therefore, we can conclude that our test is reliable.
9. Deploy to production with CI and CD.
Upload the code to a github repo
Before uploading the project, we must create a .gitignore file, which is used to prevent certain files or directories from being uploaded to the repository when running git add.
.env
dist/
node_modules
To upload the project to GitHub, we first need to create a new repository on GitHub and then follow the instructions provided to add our local repository to the remote repository on GitHub.
echo "# Api-TypeScript-Express-CD" >> README.md
git init
git add README.md
git commit -m "first commit"
git branch -M main
git remote add origin git@github.com:HectorMartinDama/Api-TypeScript-Express-CD.git
git push -u origin main
Then, you must execute these commands:
git add .
git commit -m 'first commit'
git push origin main
Render
We need to create an account on Render. Once we have the account, we click on the “New” button, then on “Web Service”, and finally we select “Build and deploy from a Git repository”. We select the repository that we created in the previous step.
In the deployment configuration, in the Build Command section, we put the following command: npm install && npm run build. In the Start Command section, we put: npm run start. Finally, we click on Create Web Service. If everything has gone well, the project will be available on the Internet.
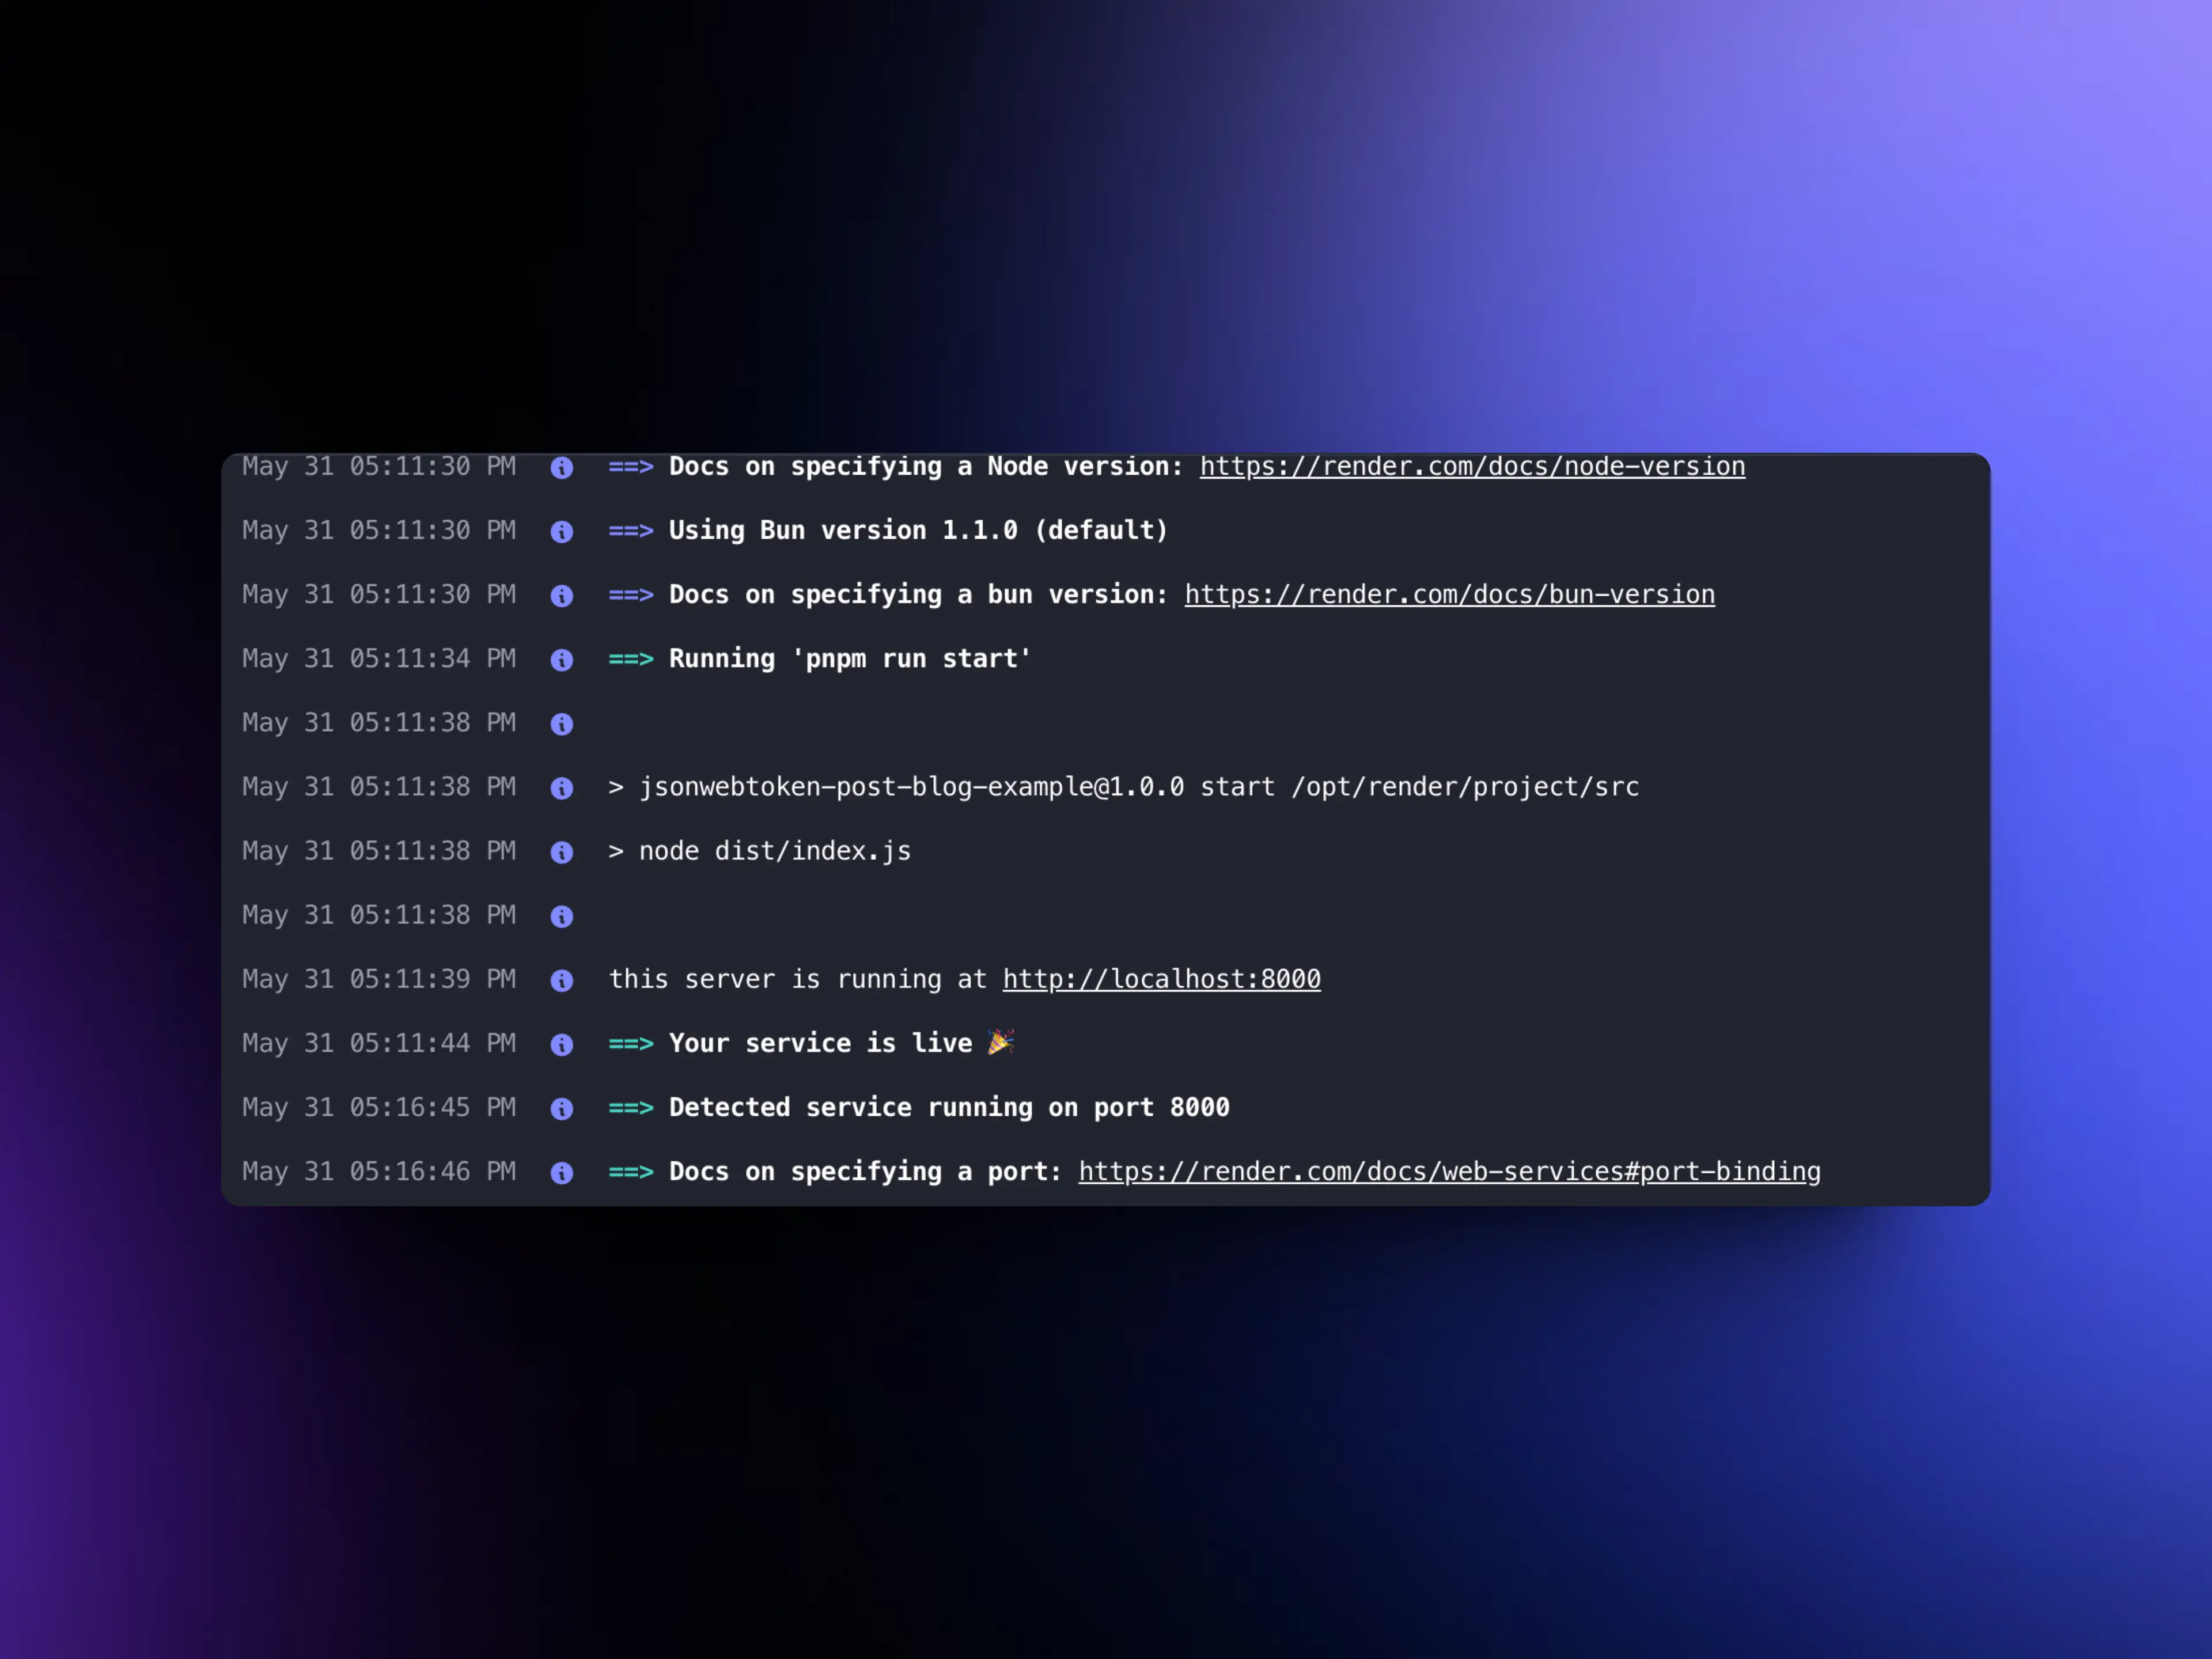
Now, every time you make a commit or PR to your repository, the project will automatically deploy with the new changes.
Github Actions
With this GitHub action, we create a workflow to run every time we commit to the repository. This workflow first runs our API tests and, if they pass, deploys to Render.
Here you have the repository the GitHub.